
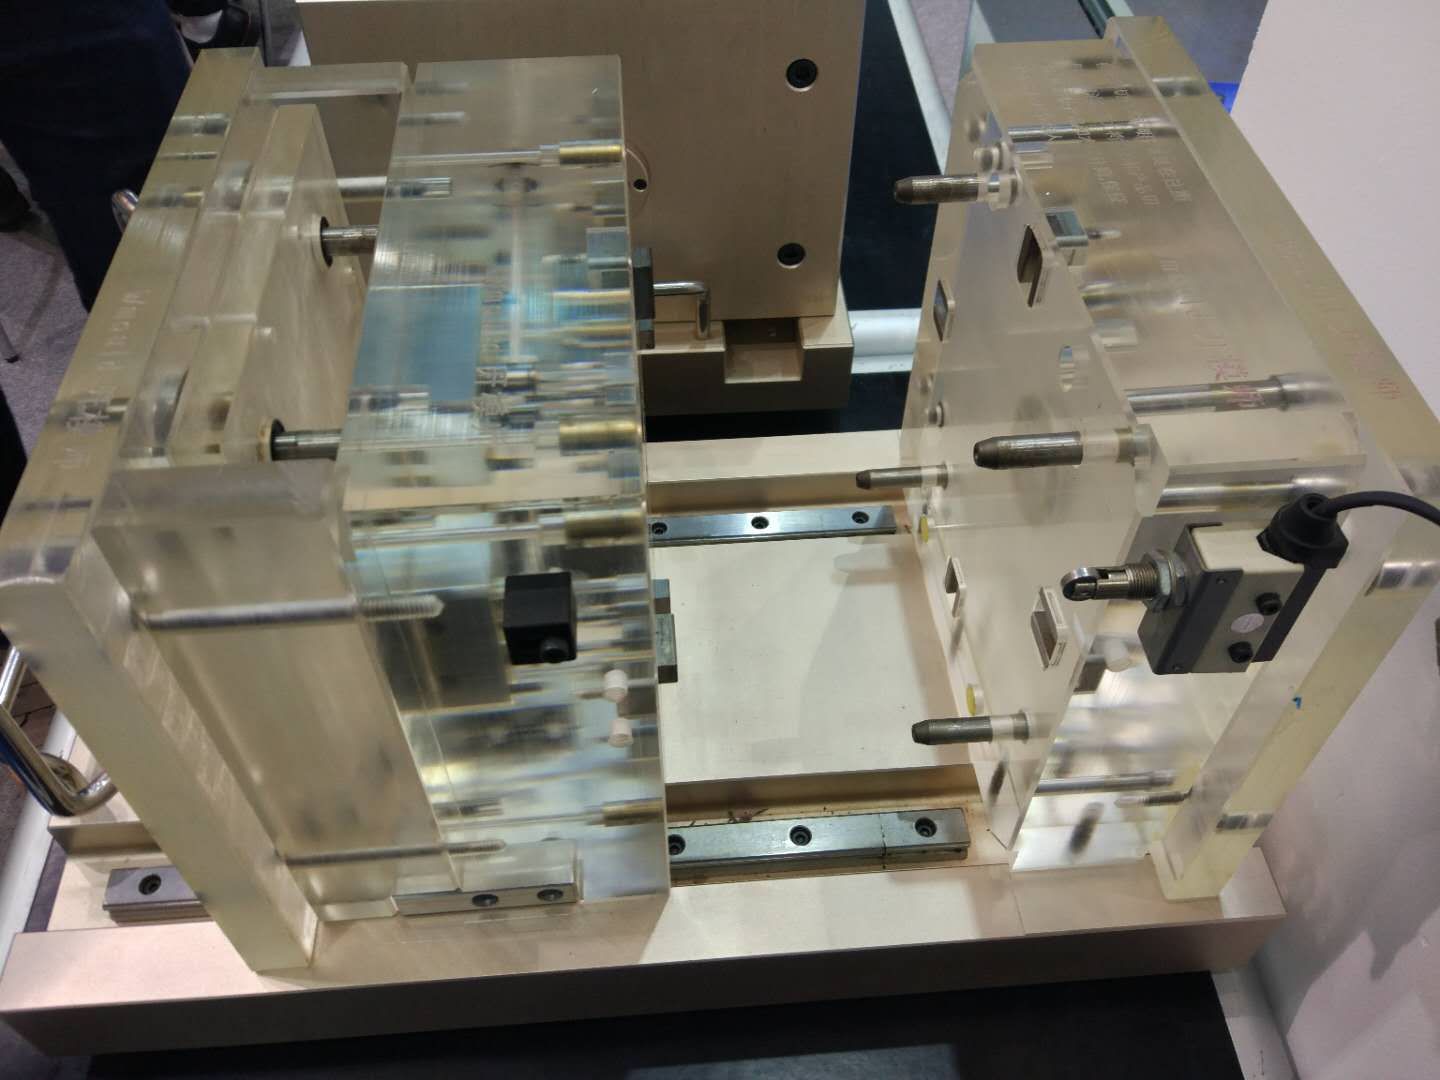
The last thing to be done in the injection mold making process is always the mold assembly. Last but not least. Mold assembly is always critical for tooling and molding quality. Suppose that, the cores and cavities are done perfectly, the mold base has been constructed very well, and all the dimensions are correct, if there are some error for mold assembly, it will be a disaster for the final quality of the mold.
The guy who assembles the mold has to be adept at nearly every operation in the entire process. At least he needs to understand how it all works, how it was machined and what needs to be done to make it all fit together perfectly. Though there are many, many different situation of assembly for different injection molds, we can still have an instruction or checklist for those regular mold assembling procedure.
- The guy who assembles the mold has to check and analyze the drawing files, make sure be very clear with the mold structure and the assembly requirement. Then confirm the best assembly sequence and solution according to the mold structure and technology requirement.
- The mold maker should be clear with the component list of the mold, and follow up with the process of the mold components, and communicate with relevant team if there’s any delay
- Do some inspection to the components of the mold, make sure they match to the 2D drawing files and quantity is correct.
- Have all the mold plates, inserts, and components in one place ready for assembly. Have a clean table and two rails to slide plates on. Prepare all the necessary tools such as allen wrenches, aluminum prybars, rubber/copper/aluminum mallets.
- Clean all the plates, inserts and other components, make sure they free from burr, chips and grit.
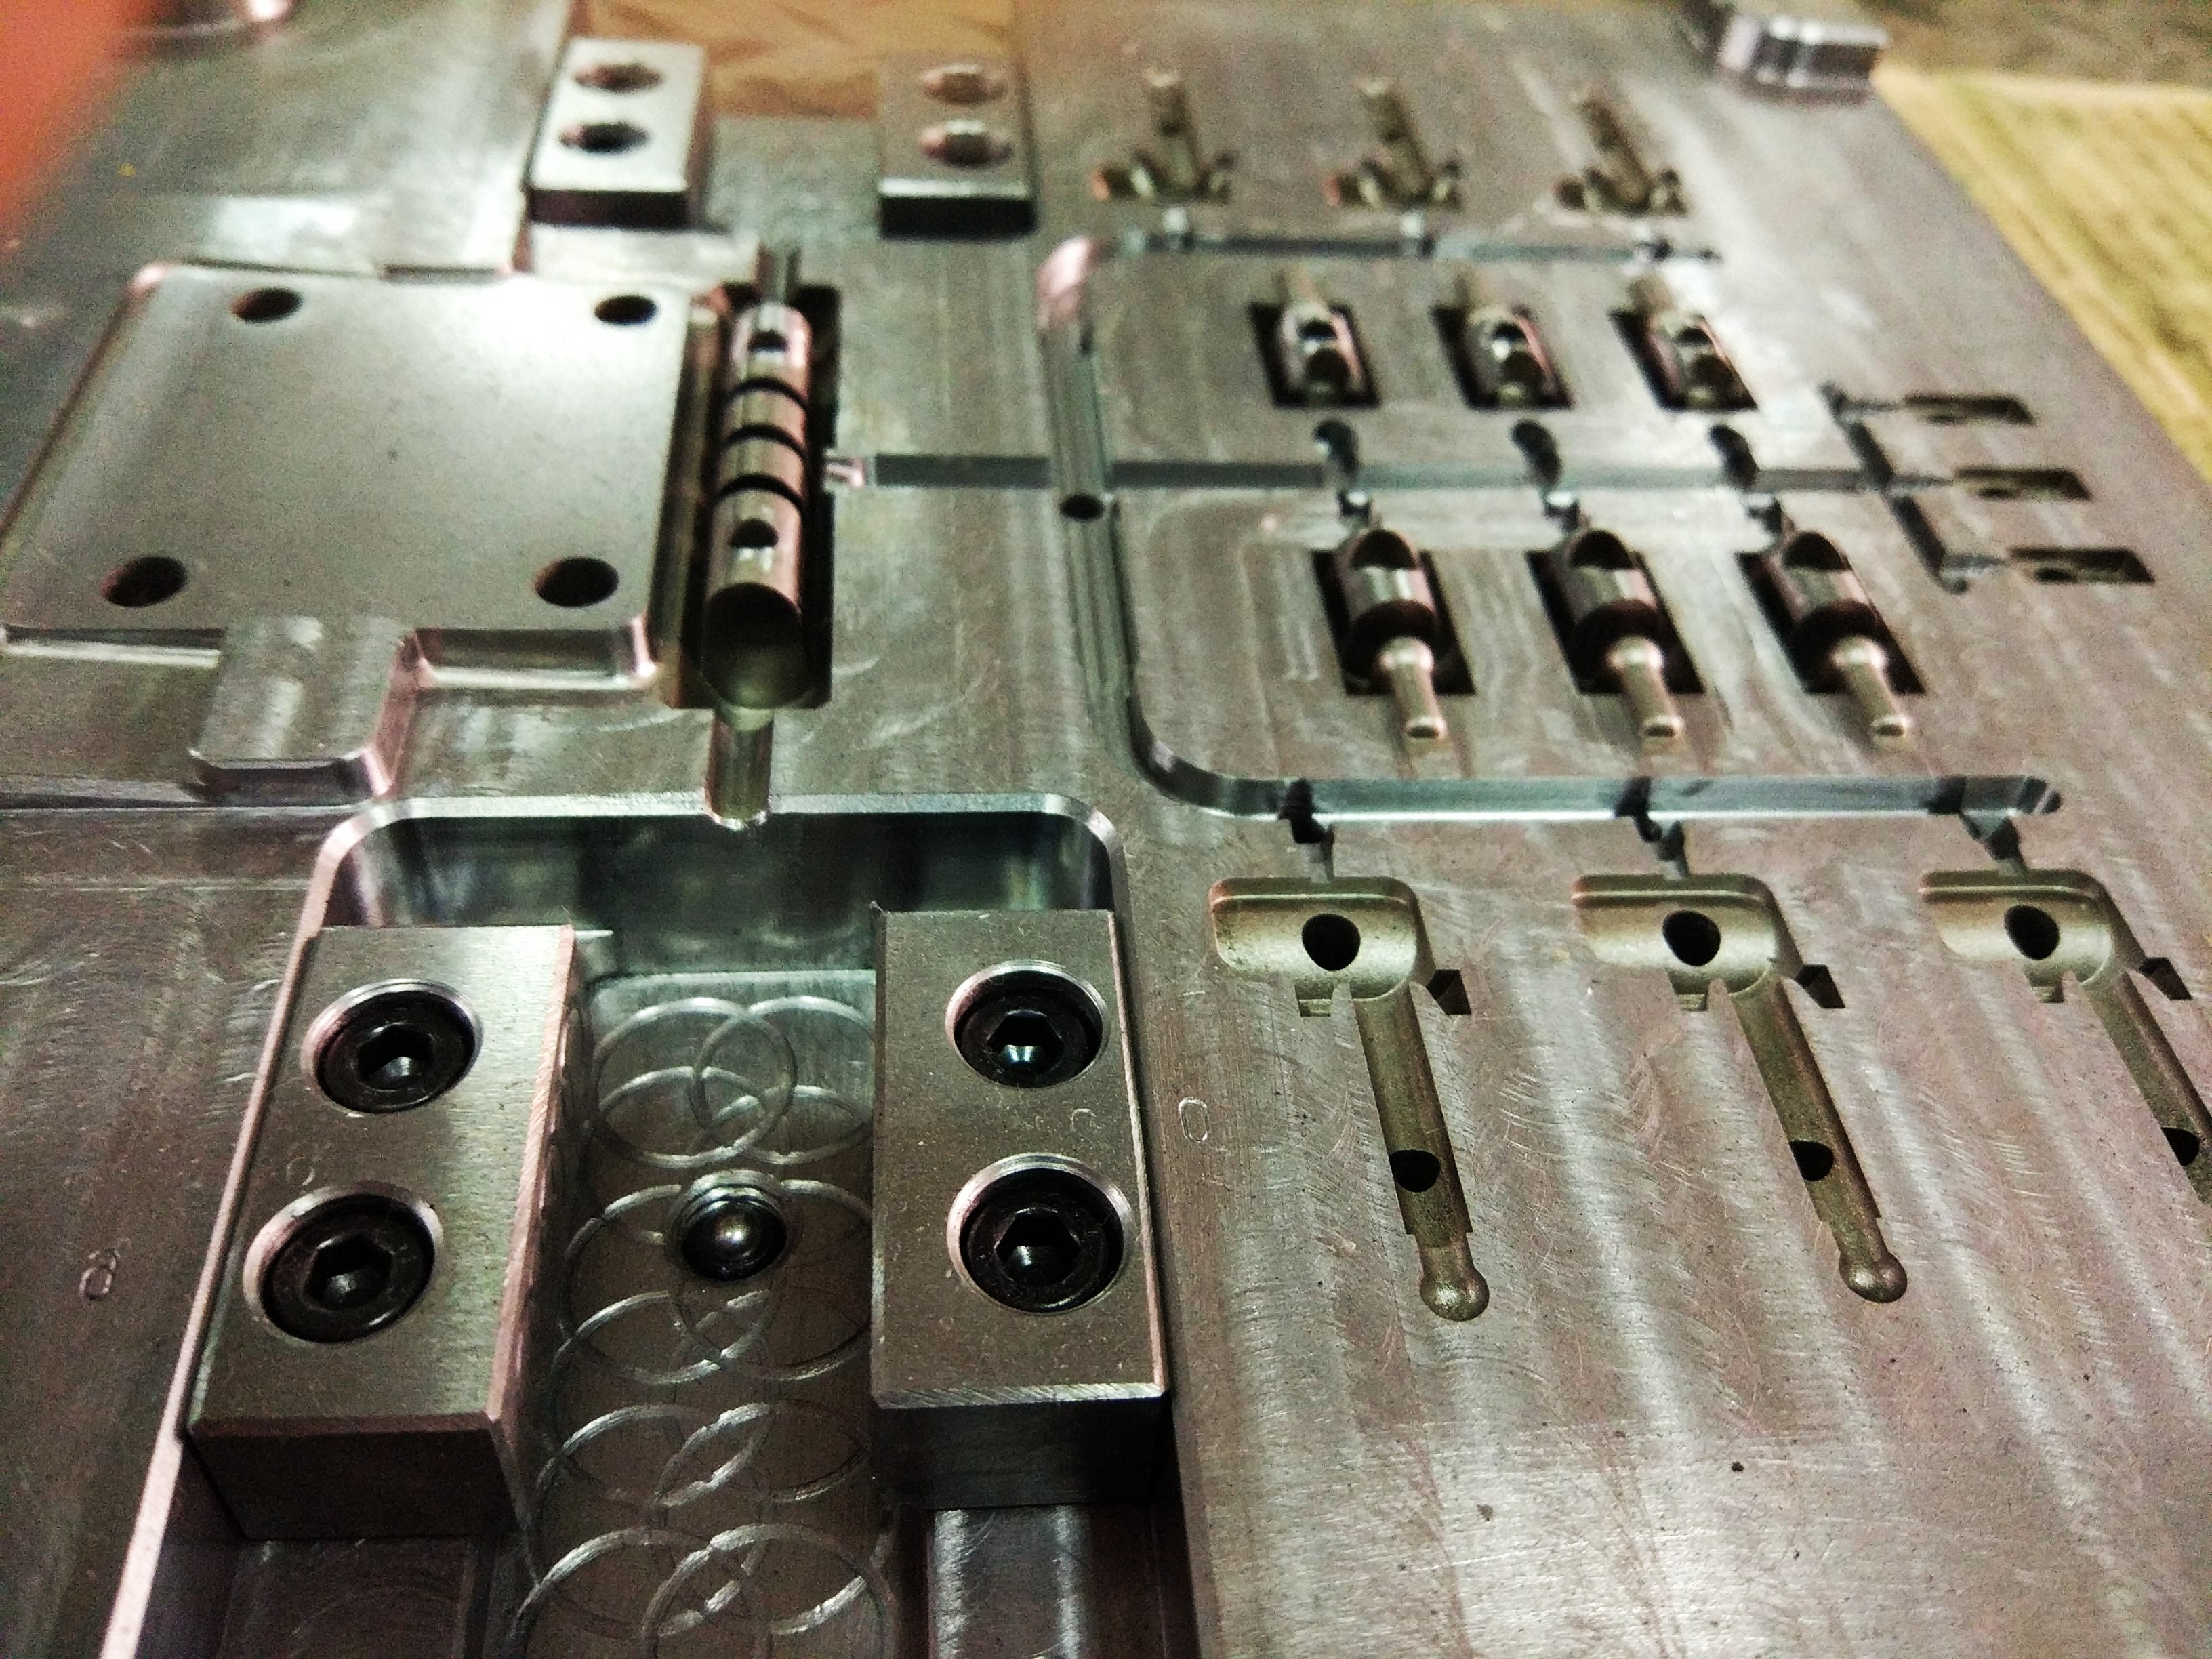
- Install all sub-inserts, gate inserts, core pins, etc. into the primary inserts. Check that all inserts and pins are marked and that they are installed in the correct location and orientation.
- Mount the B-Plate to the Support Plate.
- Install the B-Half insert set, any slide assemblies, and any other B-plate components.
- Insert and grease all ejector pins, ejector sleeves, and ejector blades through the pin retainer plate, support plate, and core inserts. Install all return pins and springs. Install and grease any Lifter mechanisms. Bolt on the Ejector plate.
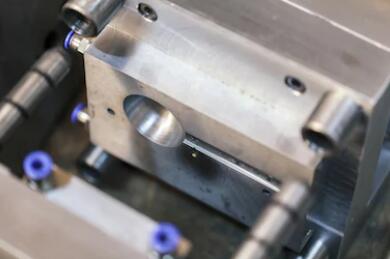
- Make sure not to damage the parting surface, forming surface on the core and cavity during assembly, especially the high polished surface.
- Assemble the ejector housing, with support pillars, guided ejection pins, etc. Guide this assembly through the ejector and other plates and bolt it to the support plate. Insert any core pins that mount in the bottom clamp plate and fasten their backup plates.
- Make sure that the Slide assembly moves freely and is greased, and that the slide retainer is functioning properly.
- Move the ejector assembly forward and check if all pins, sleeves, lift cores and all other moving components spin freely. Wiggle to check correct clearance and that all components move freely.
- Check that ejector plate can use the full length of travel. Check if runner & part will clear the core when ejected.
- Do the same action to the A-Plate, and verify everything work well.
- Install the locating ring & sprue bushing, check that sprue radius, and verify are the correct size and the sprue bushing is rotation locked and retained
- Check all limit switches.
- Spray with release agent and close the assembly.
- Verify that the mold has a mold strap and that it is fastened correctly.
The experienced toolmaker must then have the judgment to determine what needs grooming, what can be left alone, which details are important, which ones are irrelevant. and so on. This skill can only be gained by experience. It is highly recommended that an experienced injection mold maker does the actual assembly or at least closely oversee the process.
For our rapid tooling, maybe the procedure can be a little bit less, but the requirement is the same, which is the mold should work free and the product comes out well. About silicone mold for vacuum casting in rapid prototyping area, the assembly is much, much more simple. please click www.dankemold.com to get more information.